Exchange- Apple iOS
How to configure your Apple/iOS device for use with our hosted Exchange.
These instructions were created on an iOS device running iOS 18. If you’re running a different version of the OS, some of the specifics of the directions below may be slightly different.
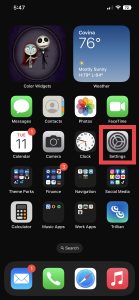
1) Go to the main home screen and get into settings.
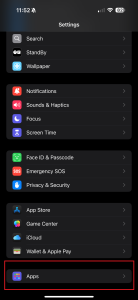
2) Click Apps
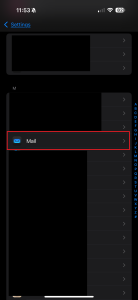
3) Click Mail
4) Click Mail Accounts
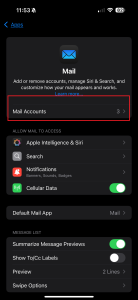
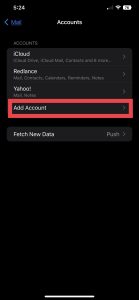
5) If you are removing the account first, tap it then REMOVE. Otherwise, tap Add Account.
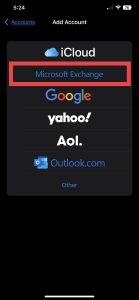
6) Choose Microsoft Exchange (not Outlook)
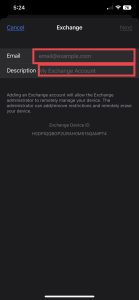
7) Enter your email address on the email line. Enter your email address on the Description line, too.
8) Choose Sign In
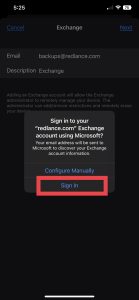
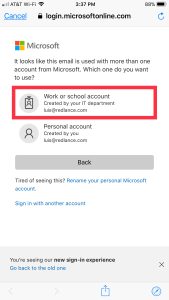
9) If prompted, choose Work or school account
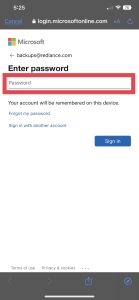
10) Enter your email account password
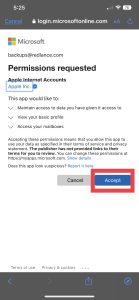
11) Accept the permissions request
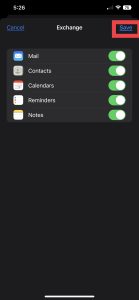
12) Enable the features you want to sync with your phone and tap Save
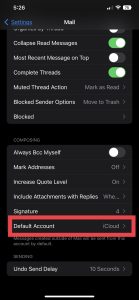
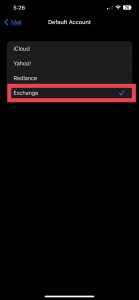
13) Your account is now added. You’ll want to check/change your defaults. In the Settings / Mail section, chose your default account. This is the default account used when sending emails from your phone if you don’t specify which account to use.
Note: This section may not appear if you have just one account on your phone.
14) Go into Settings / Apps / Contacts, and tap on the account you just added.
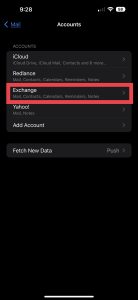
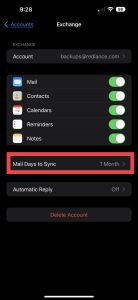
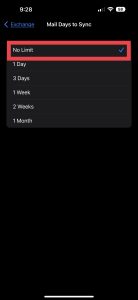
15) Scroll down to Mail days to sync and change to No Limit
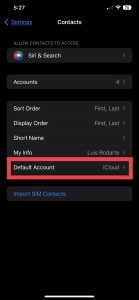
16) Go into Settings / Apps / Contacts. Set the Default account for your contacts. This is the account any new contacts go when added to your phone.
Note: This section may not appear if you have just one account on your phone.
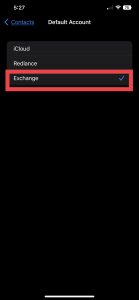
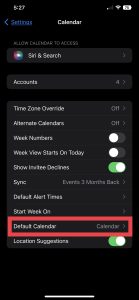
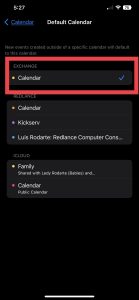
17) Go into Settings / Apps / Calendar. Set the default account for your calendar items. This is the account any new calendar events go when added to your phone.
Note: This section may not appear if you have just one account on your phone.
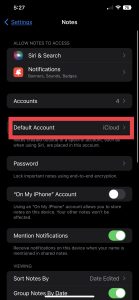
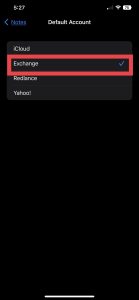
18 Go into Settings / Apps / Notes. Set the default account for your notes. This is the default account any new notes go when added to your phone.
Note: This section may not appear if you have just one account on your phone.
You’re done!