Emailing a screen shot
Seems like it ought to be such a simple thing to do- but how the heck do you do it??
There’s lots of different ways to do this, and some methods will carry with them issues and limitations. This procedure is going to produce the most accessible way to get your screen shot to somebody via email no matter what they’re using on their end to view what you’re trying to send them. This also works on all versions of Windows.
Method #1: Using the snipping tool
- Start the Snipping Tool . You can click the “start” button, then type “snip”. The snipping tool should appear. On Windows 7, this tool should also be found in Accessories/Snipping Tool.

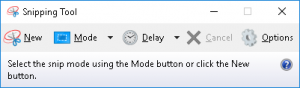
2) When the snipping tool is running, it should look like this.
3) Click New
4) Now, use your mouse to “draw a box” around the part you want to capture. Imagine a box you want to draw, and click & hold your mouse while making a vertical motion to draw the box. When you let go of the mouse, you will have done a screen grab of the box you drew.
4a) If you need to re-do it, just click new and repeat until you’ve got it right.
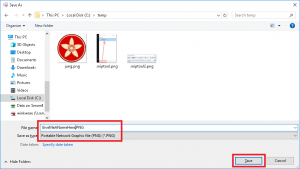
5) Once you’re happy with your selection, click FILE then SAVE AS. Choose a location and file name for this image file.
6) Now, you can attach this file to an email like anything else you’d attach to an email!
Method #2: Screen shot processed through MS Paint
This option works better if you need to capture the entire screen, or dual screen monitors. It also can capture things that don’t stay up on the screen while you’re clicking elsewhere.
- Copy your entire screen, or the “active window” to the clipboard by pressing the PRINT SCREEN button on your keyboard for the whole screen, or ALT-PRINT SCREEN for just the “active window”.
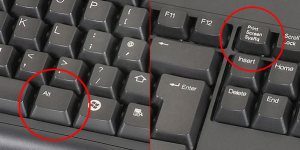
Keyboards vary, but this is the general idea
- Nothing happened? There’s no feedback that you did it, so don’t look for it! If you pressed the button(s) correctly, then you’re done with this step… move on.
- Launch the Paint application. You can click the start button and find it in the Accessories folder, you can click Start and type paint, or you can press CTRL-R then type Paint and click OK
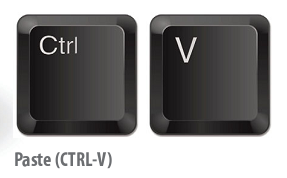
- Press CTRL-V or click EDIT/PASTE to paste your clipboard image that you did in step 1 into Paint.
- The paint program may now look like an identical copy of your actual screen! Remember which part is the picture of your screen with icons, and which is the screen shot!
- Optional- you can now crop your image, draw shapes like squares and circles around the part(s) you want to illustrate, you can overlay text and shapes using the tools in the paint program.
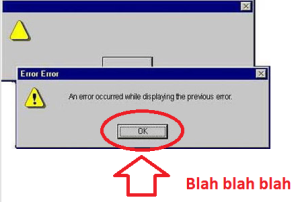
example of annotated screen shot of an error message
- Save your image. Press CTRL-S to save, or click FILE / SAVE. Choose a place to save this, and give it a name. Leave the “file type type” alone and remember where you saved it and what you called it.
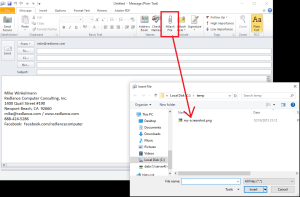
- Start up your email program and start an email message. Press the attach button, and attach this screen shot image you just saved.
Other bad ways to email screen shots:
- Take a picture of your screen with your phone. Really? Poor quality. Giant file size. Just no.
- Paste your screen shot into a word document. This distorts the image and makes the picture unusable to the recipient. Terrible way to go.
- Paste the image directly in the body of an email. The email that may look great on your screen has a reduced chance of looking like that on the recipient’s computer or device.