Checking Windows 10 Backups to USB hard drive and RDX (using Windows backup)
If we’ve configured your system to run backups using Windows backup to a fixed USB hard drive (always attached), here’s some instructions on how to check to make sure they’re working.
You should do this often. If your backup stops working for some reason, you’ll want to know asap so the situation can be corrected.
We also may have configured email notifications when the backup has been successful. Check for these emails too, but know that those are meant as a convenience feature. It’s still important to check backups manually to make sure they’re working.
Checking your backups
1. Make sure your backup drive is attached
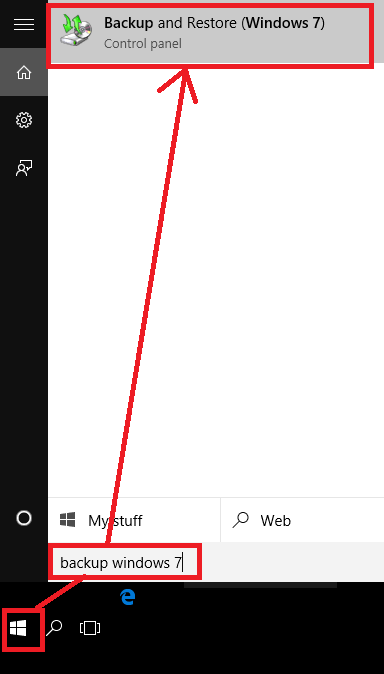
2. Launch Backup & Restore by clicking Backup and Restore icon on the desktop. If you don’t have one, you can also click the Start button, then type Backup Windows 7
3. At the next screen, verify when the last successful backup was run, and make sure the backup drive isn’t full or maxed out.
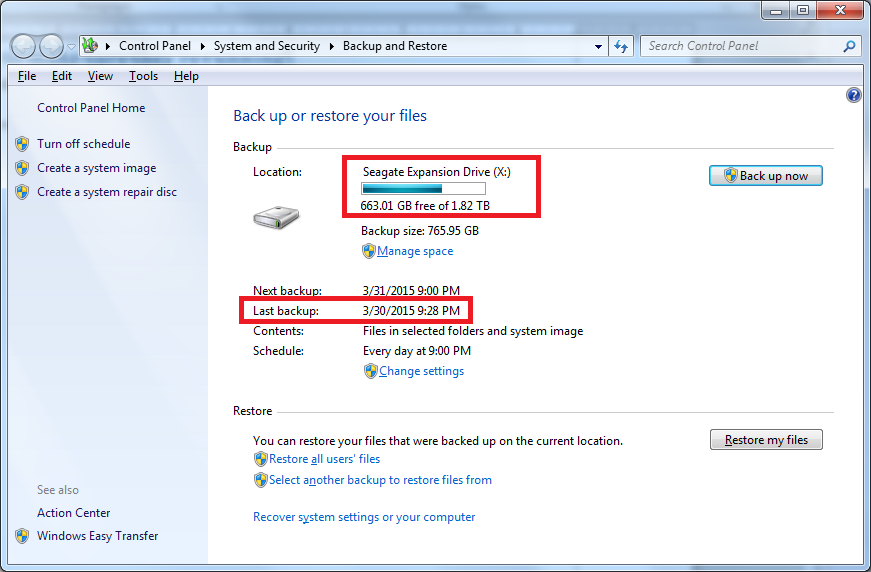
4. If your backups are scheduled, you can see when it is the next backup will run. If you want to run a backup on demand, just click the Back up now button (make sure all of your programs are closed out first!)
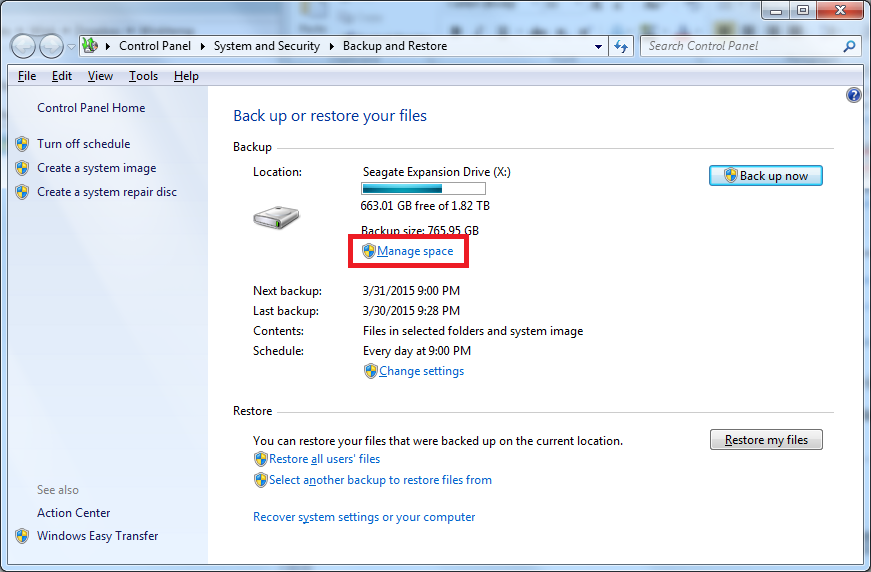
If your backup drive is full, you’ll need to delete older backups to make room for new ones.
1. On the Windows Backup main screen, click “Manage Space”
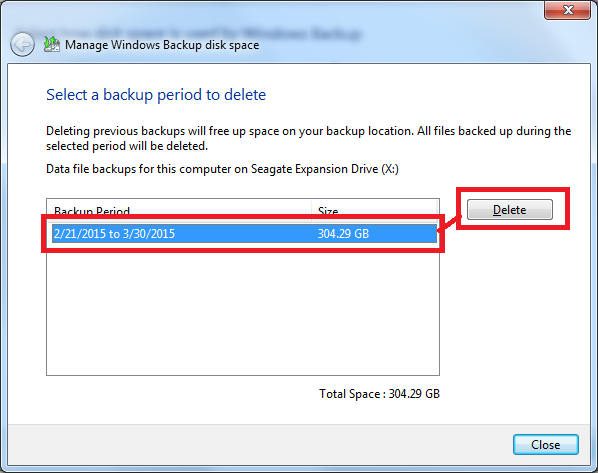
2. Then, click “View Backups”

3. Delete one or more OLDER BACKUPS to free up space. Be careful to NOT delete the LAST and ONLY backup or you’ll have no backups!
Optional- if you also have a removable RDX backup system in place, check the removable cartridge (RDX) backups, and rotate the cartridge.
RDX backups should be checked and rotated often. If you have a big disaster that’s destroyed the computer and the backup drive, you’ll appreciate having an off-line backup.
- On your desktop, look for an “RDX Log” file. Double click it.

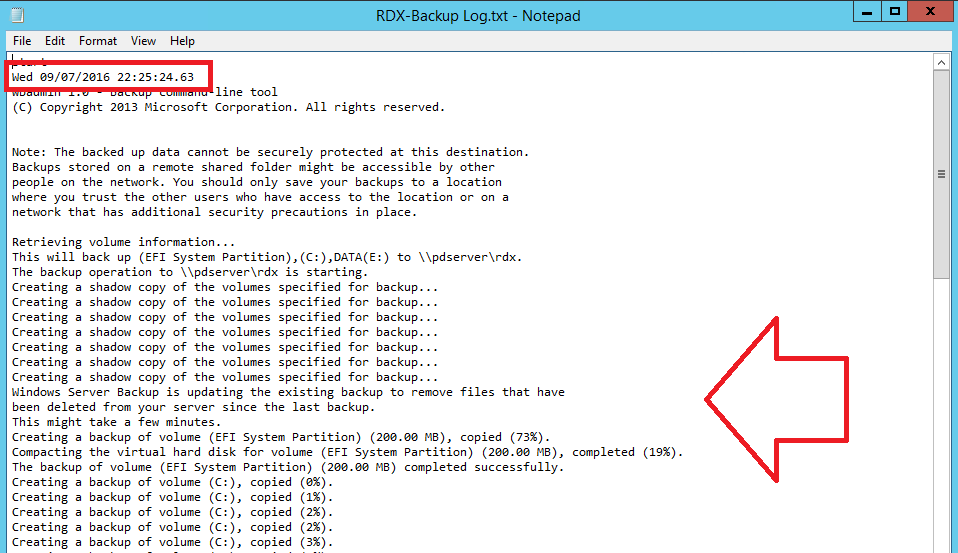
2. In this file, you’ll see a start date & time at the top, a bunch of stuff in the middle, and an end date & time at the bottom.
Make sure the start date & time is recent. This is the last time the RDX backups started.
You’ll also see a log of the actual backup. This should look consistent day to day. If it suddenly and drastically changes, then something may be wrong.
3. Scroll down to the bottom, and note the end date & time. It should be “about the same” day to day. If the backup was taking 4 hours, and suddenly it’s down to 5 minutes, something may be wrong.
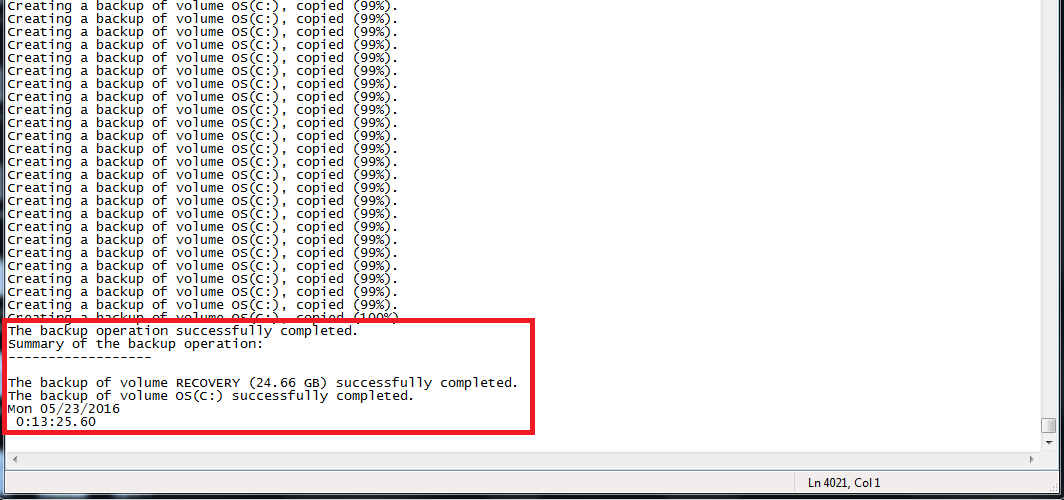
You’ll also see a Successful Backup message. This indicates the backup was successful, and that it’s OK to rotate the cartridge.
4. Locate and RDX eject icon on the desktop and right click it
![]()
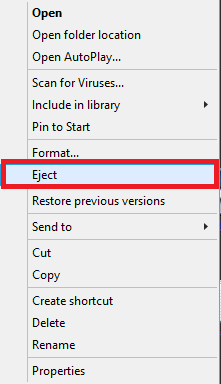
5. The cartridge will now eject, and you can put in “the next” cartridge.
Note: You don’t want to remove the cartridge unless it has a good backup on it. If the backup did not work, you may be removing an empty cartridge and putting in a good backup, only to have that one overwritten too, and you could potentially end up with no backups on cartridges at all. Caution must be taken when managing backup cartridges to ensure you have good working backups on them.
If you have any questions or things aren’t working as expected, contact us for assistance.