Exchange- Android (Google)
How to configure your Android / Google device for use with our hosted Exchange
(Revised 2022-10-11)
Android phones can all be a little different and this procedure can vary. Most Android phones are made by Samsung, so these particular directions have been created on a Samsung Galaxy S20 phone running Android 12. Your experience may be slightly different.
Option #1 (Preferred)- Use the stock apps method / add account to the phone as an account.
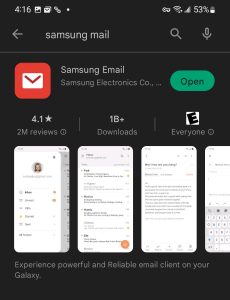
If you have a Samsung phone, you may already have the Samsung Mail app installed, but it doesn’t come default on all phones, so install it if it’s not there.
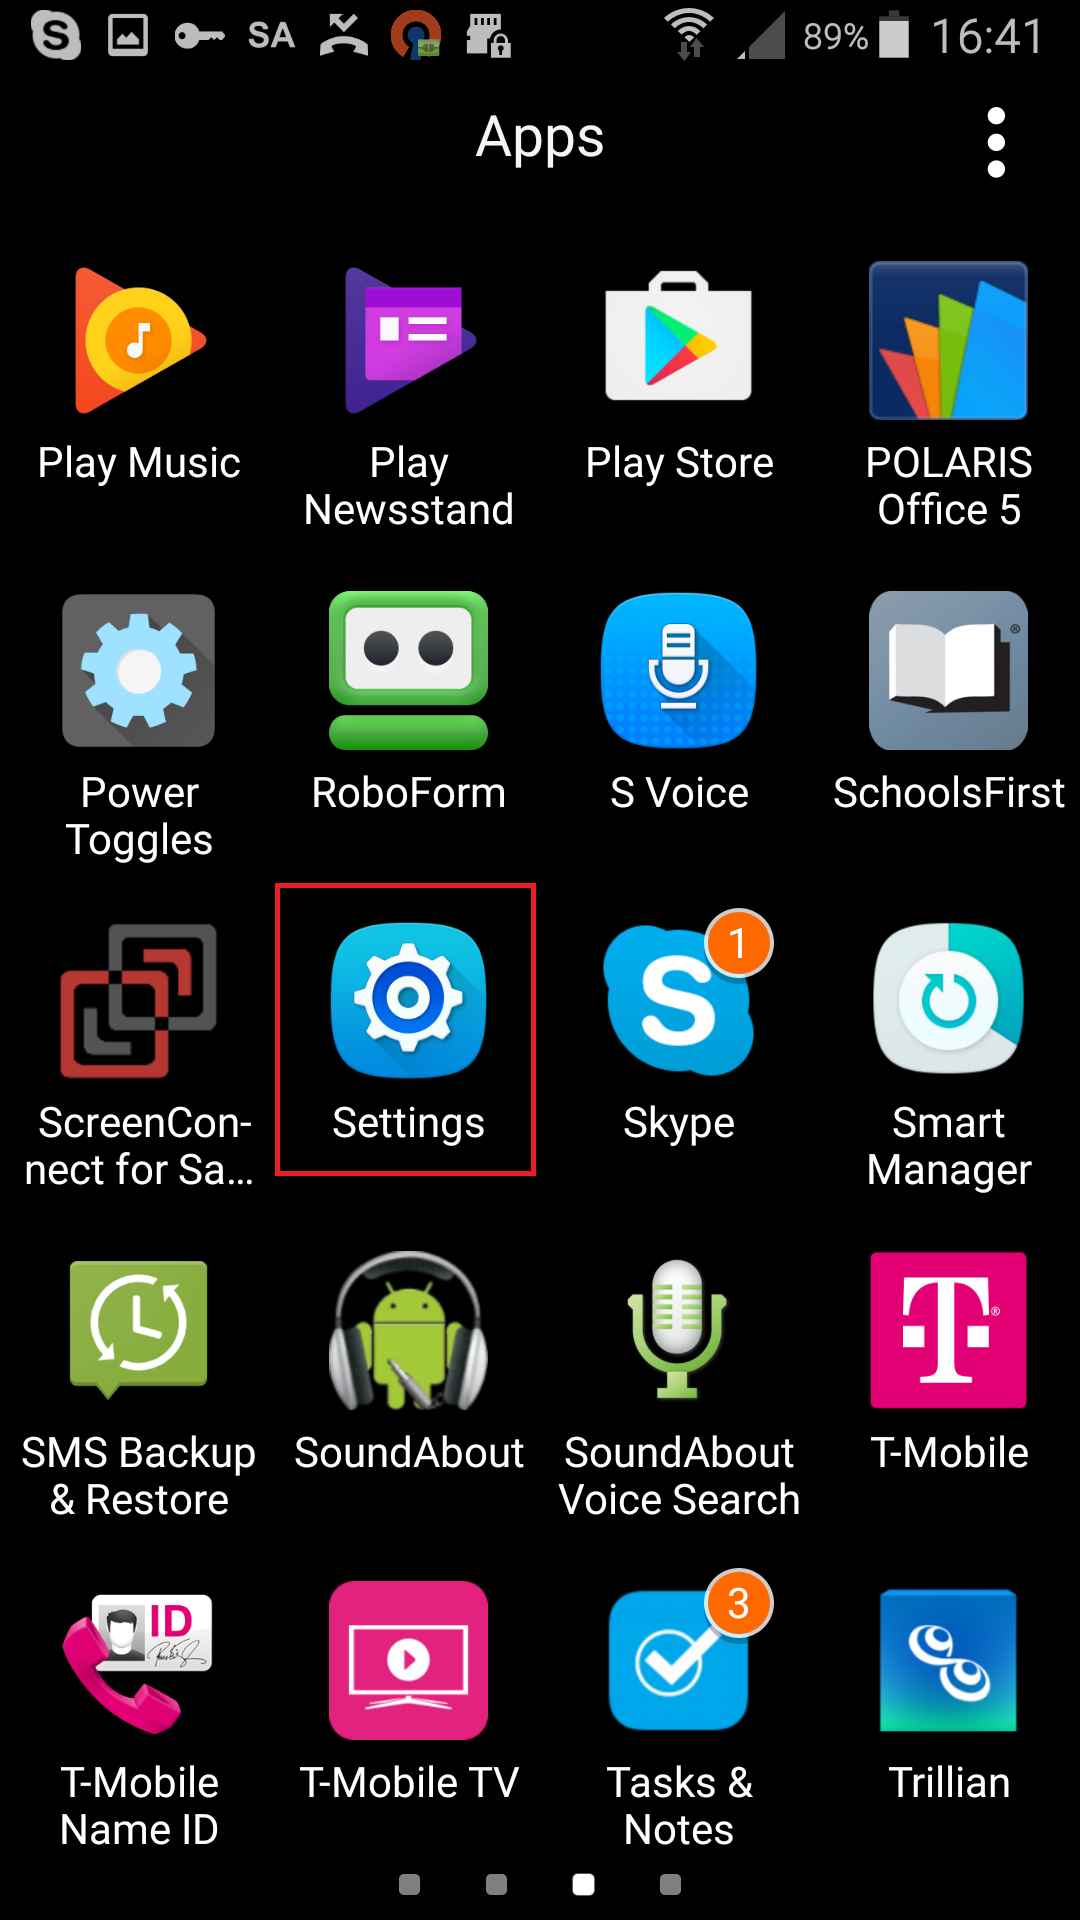
Find your Play Store icon and tap it.

Search for Samsung Mail and install the application. If it says OPEN, it’s already there. If not, install it. You don’t need to open it at this point.
Once installed, go into your phone’s Settings
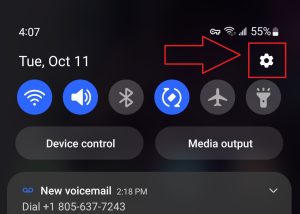
Click on Accounts and Backup
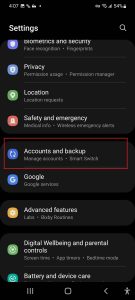
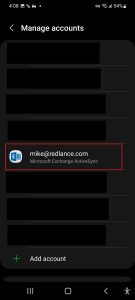
Click Manage Accounts
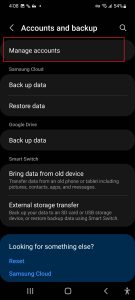
If your account is already here and you’re trying to re-add, you’ll need to remove the existing account first. Tap your Exchange account and click Remove. Otherwise, skip to the next step.
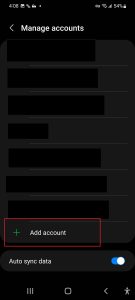
Click Add Account
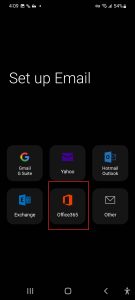
Select Office 365
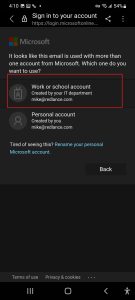
Type your email address and click Next

If you’re presented with a choice of Work/School or Personal, select Work/School. If not, skip to the next step.
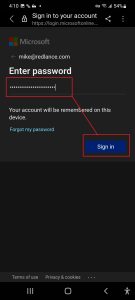
Type your password and Sign In
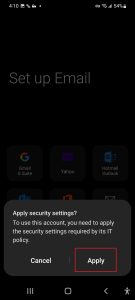
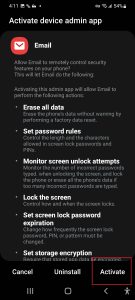
Apply the security settings
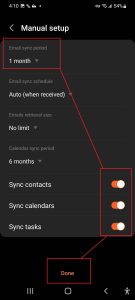
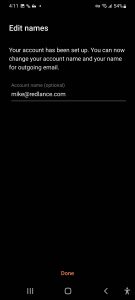
Enable the email sync period of One Month (or whatever you want), and make sure the account components that you want are all ON (Most people will want these all ON unless you have a specific reason not to). Click Done.
Click Activate
Click Done to finish adding
You can stop here, but if you’re expecting to have contacts or calendar items that you add on your phone to show up in your account (and then in Outlook), you’ll want to check/change your contact and calendar defaults
Tap the Contacts icon

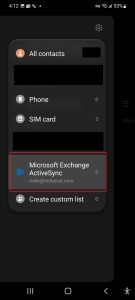
Tap on the 3 bars to pull up the menu/options
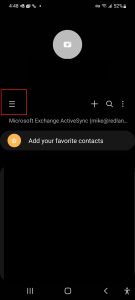
Make sure you’re just looking at your Exchange accounts contacts. Tap where the red box is here in the picture and select your account if it’s not set like this. This ensures you’re looking at your “Outlook contacts” on your phone.
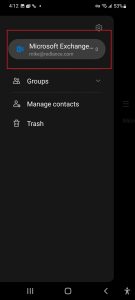
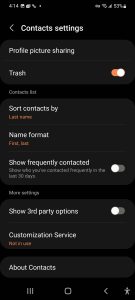
Click on the Contacts Setting gear to get into the Contacts Settings. It doesn’t show in this example because I don’t have any other “contact containers” on this particular device, but if you see a “Default” contacts selector, tap it and select your Exchange account. This is where you tell the phone where to store new contacts.
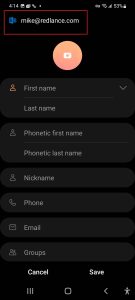
If you were to add a new contact, you can see that the contact is going to be stored (on your phone) in your Exchange account, where it will effectively sync with your Outlook.
Next, get into your Calendar application
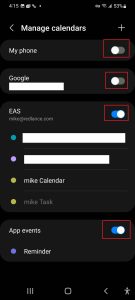
Tap on the 3 bars to pull up the calendar menu options then tap the settings gear then tap Manage Calendars
To keep things simple, we’d recommend only displaying the calendars you want to see from your Exchange account. Turn off all other calendars to avoid confusion and to reduce “sync errors”, so your new calendar items go to your Exchange account.
That’s it!
Option 2: Setting up Outlook for Android
You can also use the separate Outlook app to completely separate your Exchange account from other accounts on your phone. Note that this method might not add contacts or calendars to your phone’s native contacts and calendar apps.
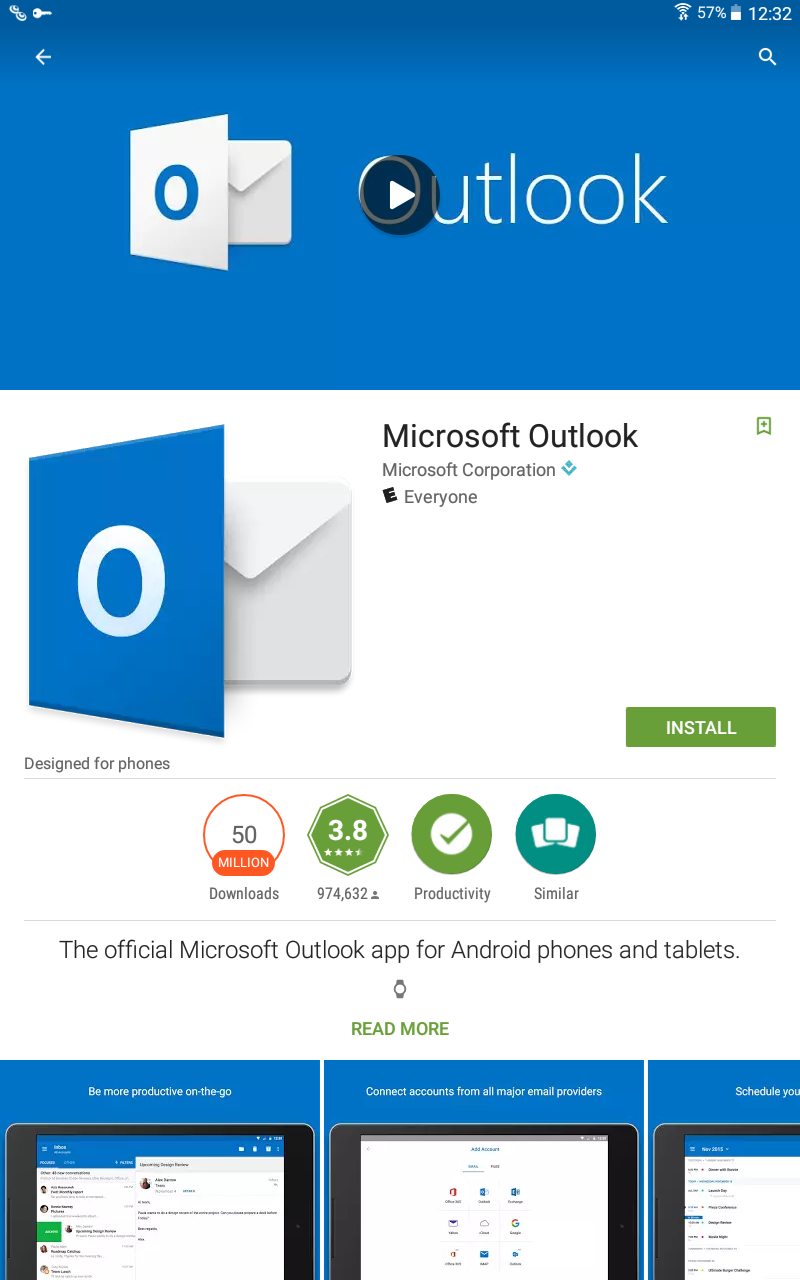
- Go to the play store and download the Outlook app https://play.google.com/store/apps/details?id=com.microsoft.office.outlook&hl=en
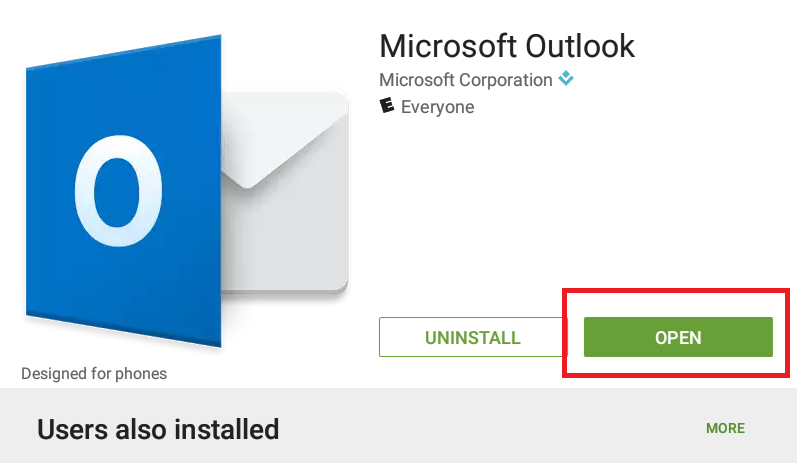
2. Once the app is installed, launch it from the install screen or the new icon on your “desktop”.
3. Click get started

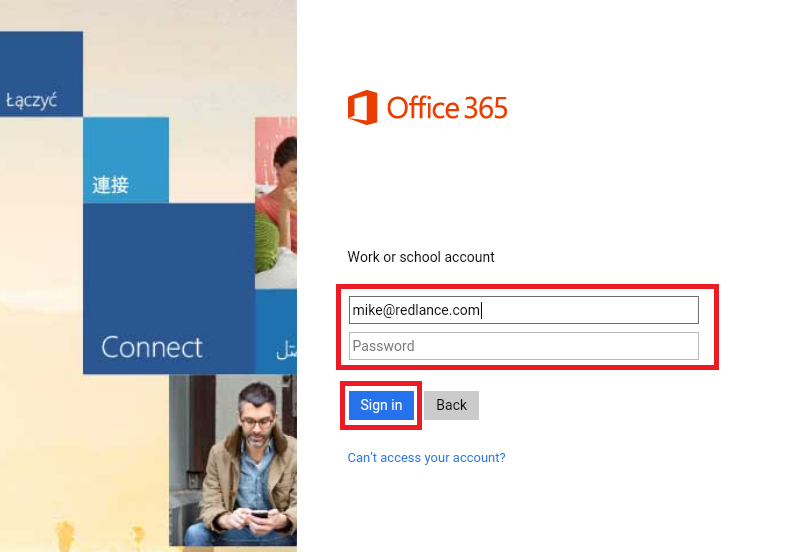
4. Type your email address and tap continue

5. Enter your password on the password screen and hit go on your keyboard, or tap continue
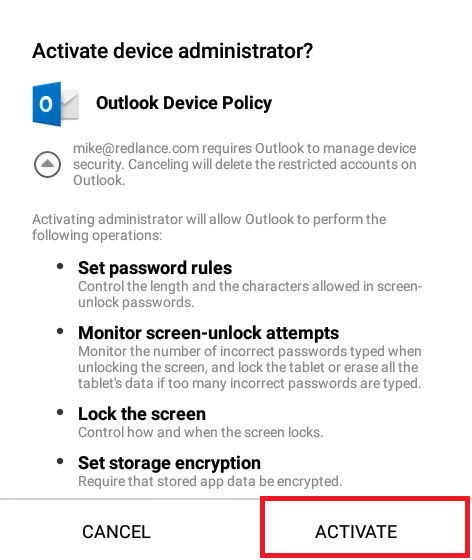
6. Tap Activate on device administrator
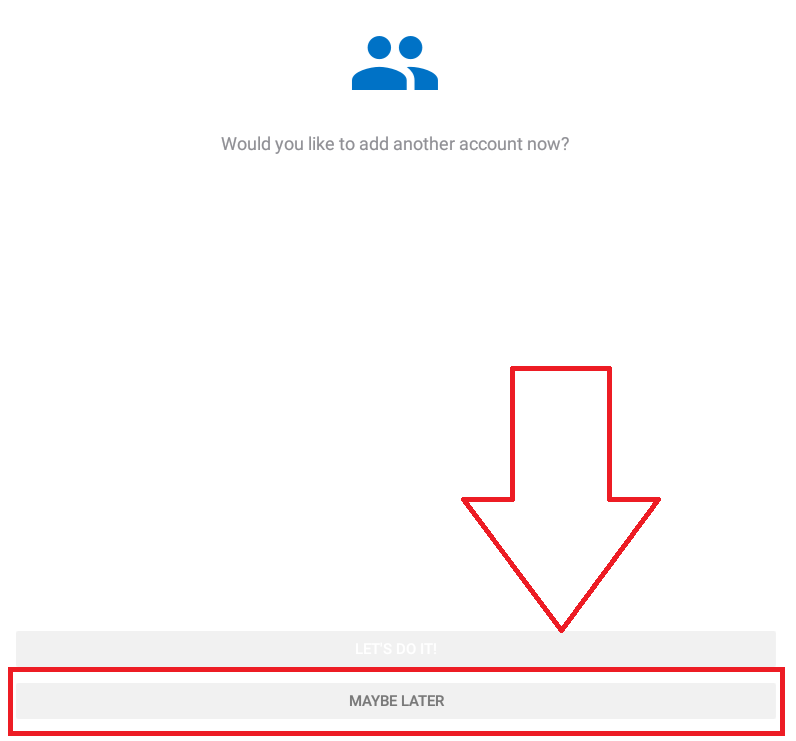
7. Tap maybe later to skip adding additional accounts
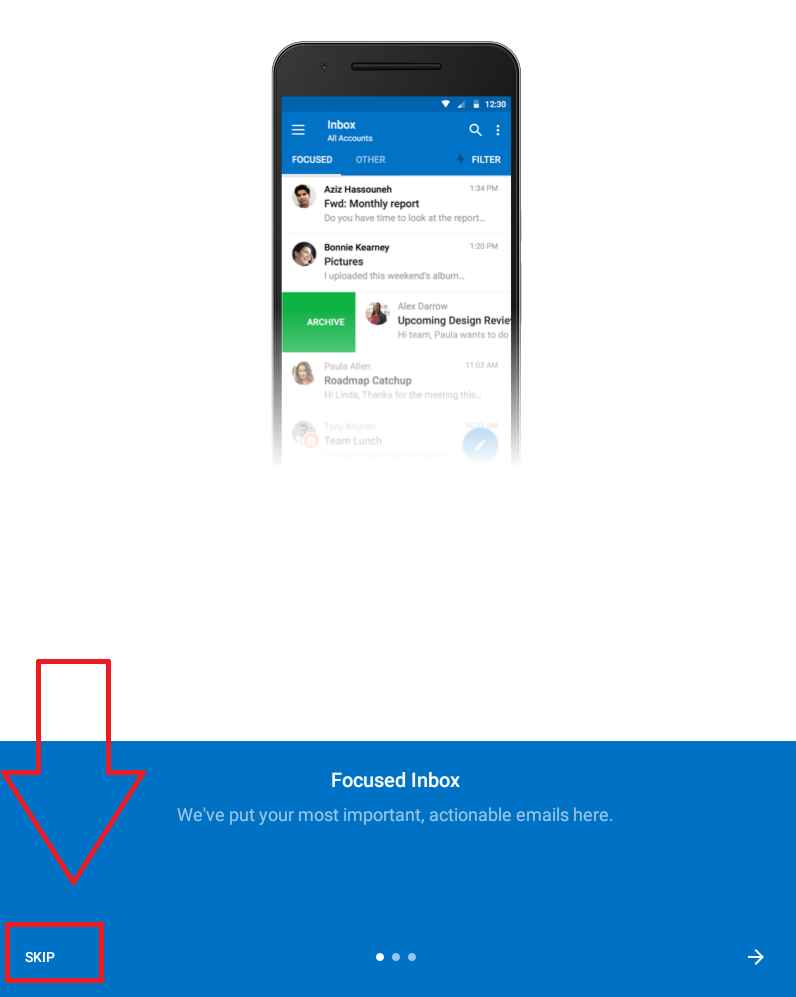
8. Tap skip to skip the welcome
9. Essentially, you’re done, but you might also want to click the gear to set some additional options:

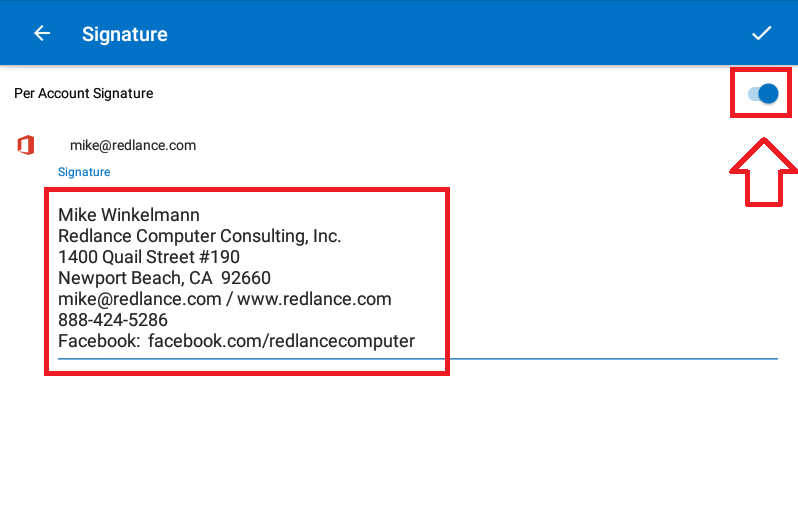
10. Disable Focused Inbox, Organize Mail By Thread, and Link Preview, and set up your signature block.
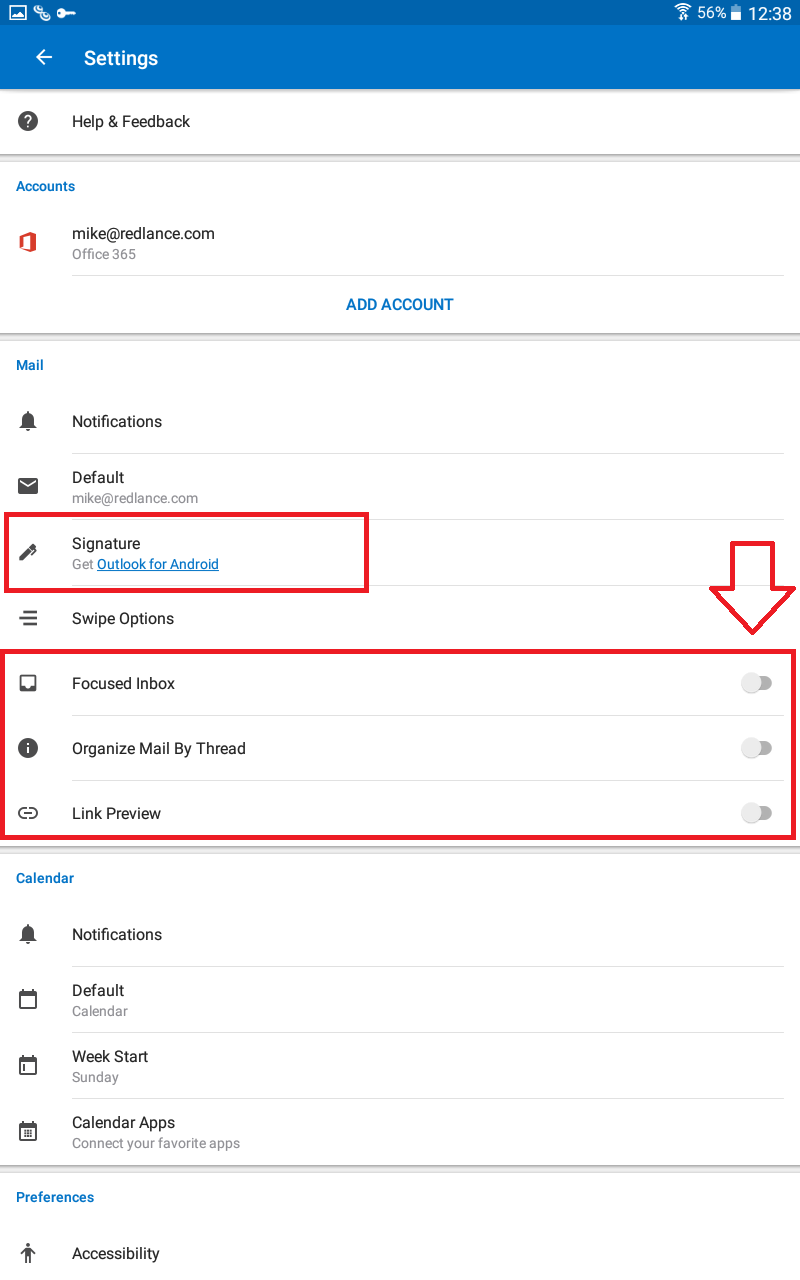
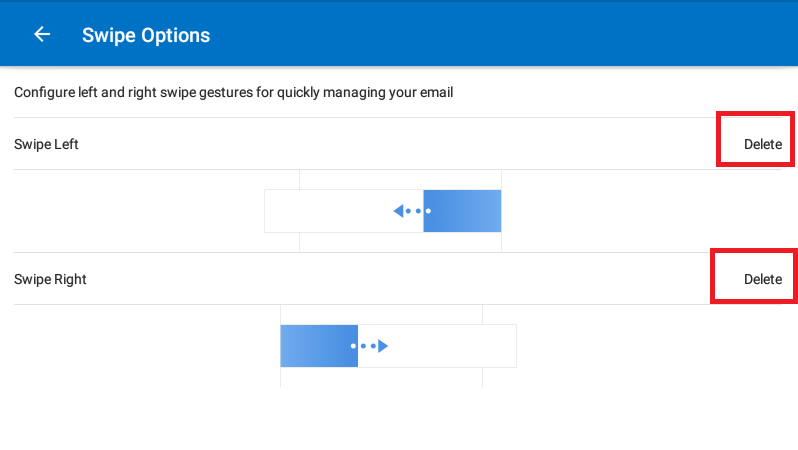
11. You may also want to set your swipe options to delete (both ways) when you swipe an email
Note: We’re unsure if the Outlook app will allow you to do an Exchange initiated phone wipe if you ever lose your phone. You may also want to install Lookout, which provides security and the “find my phone” and “phone wipe” options should you lose your phone. The free version does both.
If you have any troubles, feel free to contact us for assistance.